
Tutorials
How to Make a Smart WooCommerce Product Search Filter
Jul
When first entering an online shop, the first thing most of us do is start searching for products that match our needs. Whether we do this by exploring categories, heading for the search bar, or starting to filter right away, we all get straight to business when shopping online.
Studies show that 64% of people use the search option when they are looking to buy a product in a webshop (1), 43% of users on retail websites even go directly to the search bar (2), and 39% of purchasers are influenced by a relevant search result (1). Yet, a staggering 72% of sites completely fail when it comes to delivering on their customers’ search expectations (3). If you run a WooCommerce store and also feel like your search filter is not helping your customers easily find what they are looking for, look no further and keep reading this article!!
In this article, we’ll explore how to set up your WooCommerce product search and take a look at what you can do to make your setup for WooCommerce search stand out from the competition. If you want to increase your chances of getting soaring conversion rates, keep on reading!
Benefits of having a smart WooCommerce product search filter
At this point, in the e-commerce game, a great search and filter functionality is vital to increasing your conversion rates – and keeping them up. If you’re already excited about the idea of better conversion rates, you’ll be happy to discover this is just the tip of the iceberg! There are many more benefits you can get from a good product search set-up.
By investing in a solid WooCommerce product search functionality, you can also drastically improve the user experience on your website. When visitors have a good experience, they tend to spend more time browsing through products and returning to your store again and again. If the rest of your customer flow is up to par, this has the potential to increase traffic because customers share their experience with their networks. This way your churn will decrease, as you get more and more happy repeat customers.
This all sounds great, but what does a smart search functionality look like, and is it attainable to create it in WooCommerce? There are several things to keep in mind when designing your WooCommerce search experience. These are 5 things to get started with:
- Search index: what should the search index include? Most solutions only include the product name and sometimes description. This leaves out so many matching possibilities! Think about product attributes, tags, and categories, not to mention custom product fields. The more information your index contains, the more likely it is that customers will find what they are looking for.
- Search match: ideally, you’d have a partial search match which ensures that when a visitor searches for “hoodies” instead of “hoodie”, they still get all the relevant results. Few things can hurt your business more than having the right products, but not having a way for your clients to reach them.
- Speed: slow-loading websites cost retailers $2.6 billion in lost sales each year (4). This also includes the speed of your search bar and how fast products get loaded to the page.
- Autocomplete: having a great autocomplete function can make all the difference for impatient shoppers. By offering a preview of the results list before submitting the search, users can see the product recommendations changing in real time as they modify their search query.
- Looks: 75% of consumers admit to making judgments on a company’s credibility based on the company’s website design (5). Your search and filter widgets make no exceptions!
In addition to this list, of course, there are more advanced functionalities that you as an entrepreneur might wish for, like autocorrect, product reranking (to stimulate sales for specific products by ranking them higher in the results), filter customization, and customization of product posts design (what the product ‘tiles’ look like in the search results).
But to start with, let’s just take it from the top and see how we can set up a good WooCommerce product search and filter on your website and then discuss how we can improve it.
How to create a WooCommerce product search filter
Method 1: Standard WooCommerce search filter
The first option for creating search and filter capabilities for a WooCommerce site is by using the standard, out-of-the-box WooCommerce search and filter widgets. Going this route, we’ll have to set up the search bar and each filter separately.
Setting up the search bar
Setting up the standard WooCommerce search bar is pretty straightforward. There are only several steps we need to follow:
- Open your WordPress Dashboard and navigate to Appearance > Widgets.
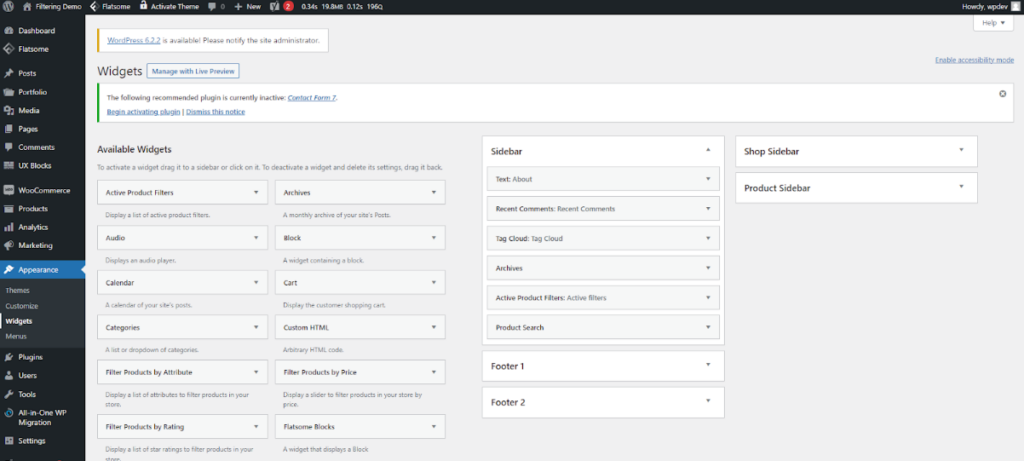
2. Look for the Product Search widget and click it. You will be given several options for the position of the widget on the shop page.
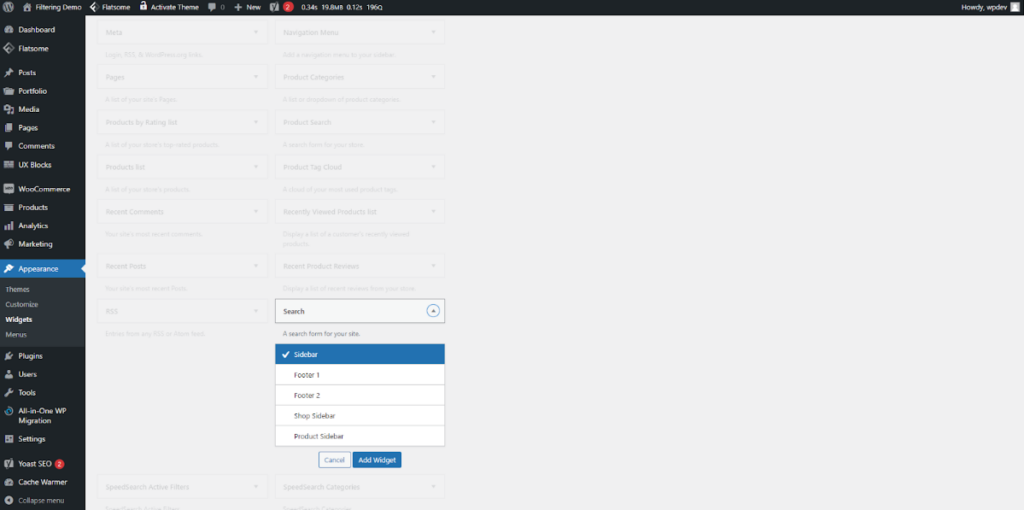
3. Once you select the desired location, you will be prompted to enter a title for the search bar. This step is optional, so only take it if it applies to your use case. For this article, we gave it the name “test”.
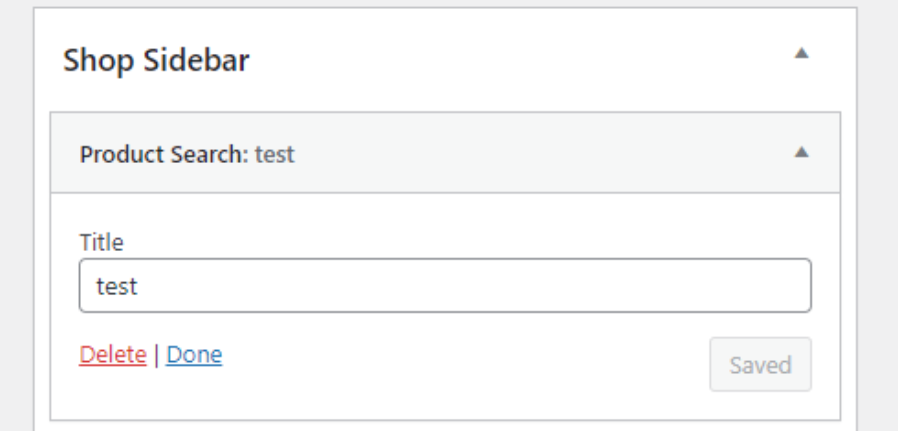
4. Once saved, the search bar will appear in the section of the shop page which we selected in Step 2. If we gave a name to the search bar in step 3, this will be visible just above the search bar.
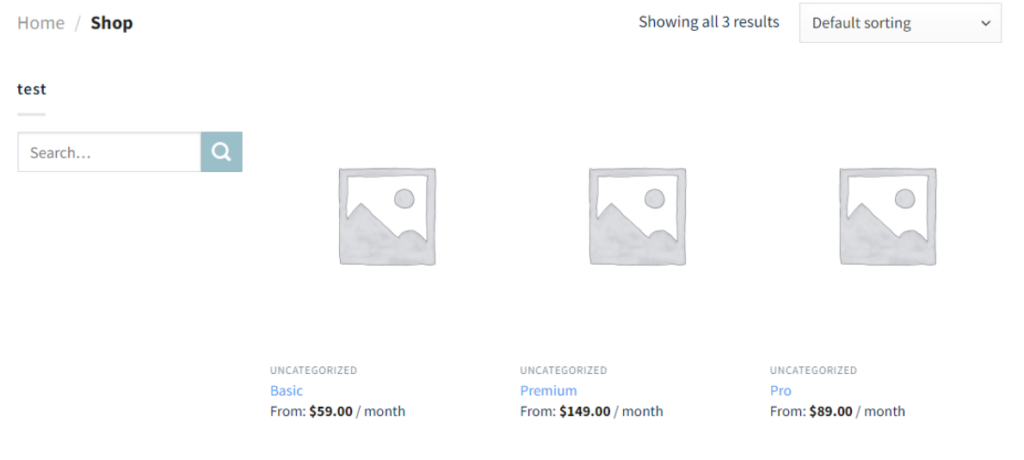
Our search bar is completely set up now. We can start testing the behavior by entering text in the search bar. Here are several aspects to note:
- We have an out-of-the-box autocomplete functionality. However, it only includes product names and prices.
- The search results that will be shown also contain pages. Given that the autocomplete dropdown doesn’t mention the category of the recommendation, this can create confusion for site visitors.
- Also, both the autocomplete and search functionalities are slow. Even for a shop with only 3 products, there is a waiting time of several seconds before any autocomplete recommendations or search results are loaded.
Setting up product filters
WooCommerce offers several widgets for product filters as well, namely Filter Products by Attribute, Filter Products by Price, and Filter Products by Rating. To allow users to browse products by category, we can use the Categories widgets and to display what filters are currently active, we can use the Active Product Filters.
All these widgets can be enabled by following the steps we took for setting up the search bar.
By enabling all of them, we’ll get a setup similar to the following:

View from the admin panel
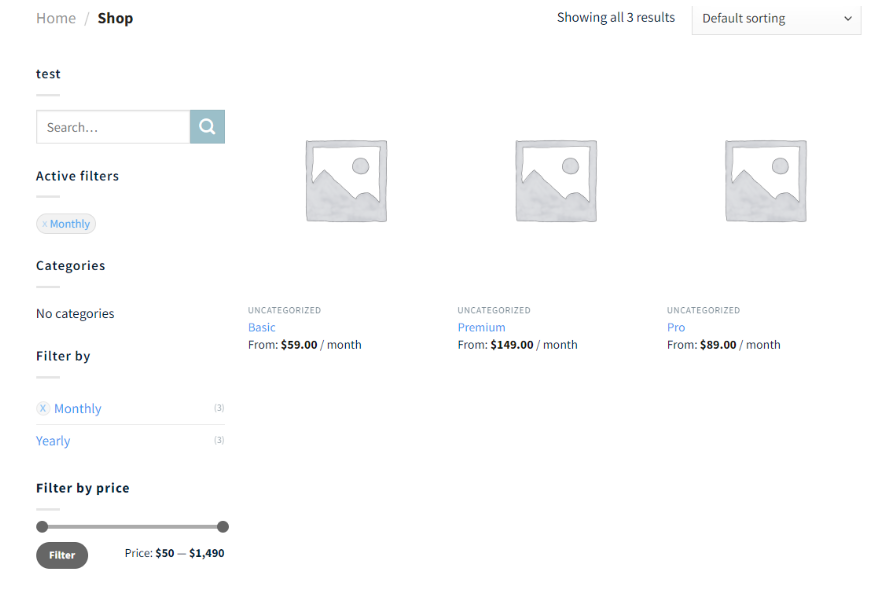
View on the storefront
Now that we are all set up, we can explore the functionality we added to our e-commerce store. Off the bat, you’ll notice that the filtering possibilities are highly limited. If you have a store with a large variety of products, then you’ll soon find out that the attributes list can get long and inaesthetic very fast, and that there is no option to make use of the tags attached to your products. It also wouldn’t be possible to add a more complex filter, for example, a color dropdown with swatches (small thumbnail-size images of the product).
Conclusion
All in all, the out-of-the-box WooCommerce capabilities cover a few functionalities for searching and filtering products. However, the search and autocomplete are slow and the filtering options are very limited.
While this may be a viable option for extremely small shops, store owners who have growth ambitions for their business will have to look elsewhere for a fitting option. In the WooCommerce ecosystem, this translates to picking the right plugin.
Method 2: Using the SpeedSearch plugin
SpeedSearch is a one-stop solution for smart search and filtering capabilities for WooCommerce stores. It offers a rich search index, with a fast response time, a large variety of filters with different display options, as well as tools to help shop owners make the most out of their search data.
In addition to being feature-rich, SpeedSearch is extremely straightforward to get started with.
Step 1: Install the plugin and configure the basic settings
The first step with SpeedSearch is to install and activate the plugin by following the wizard steps. Once finished, your products will start syncing on the dedicated SpeedSearch server. This is a crucial step in your installation journey as the SpeedSearch server makes it possible for your searching and filtering features to be lightning-fast.
You will see a notification section that explains the syncing process and lets you know how far along you are.
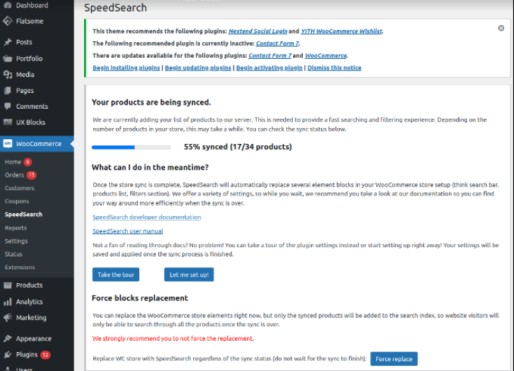
If you scroll down, you’ll be able to access the plugin settings, where there are multiple settings sections for you to explore. You’ll have a predefined set of settings applied upon installation. You can keep those settings as they are when first getting started and in the beginning, only focus on the filters and tags sections.

! While the sync is in progress, no changes you make here will be reflected on the shop page yet. You will be able to see the changes on your website after the synchronization process is finished.
Once the sync is finalized, SpeedSearch replaces the search and filter elements that already existed on your shop page and implements the SpeedSearch version, using the settings you just activated. This includes the search bar (if you have one), the categories section, the filters, and the products list.
If no search bar is present, you can add it from the widgets section, as explained below in Step 2.
Step 2: Add the SpeedSearch Search Widget to your Website
In case you had no search bar to begin with, you’ll have to add the SpeedSearch Search widget to your site. Just as with the WooCommerce widgets, navigate to Appearance>Widgets and select the SpeedSearch Search widget and its desired location.
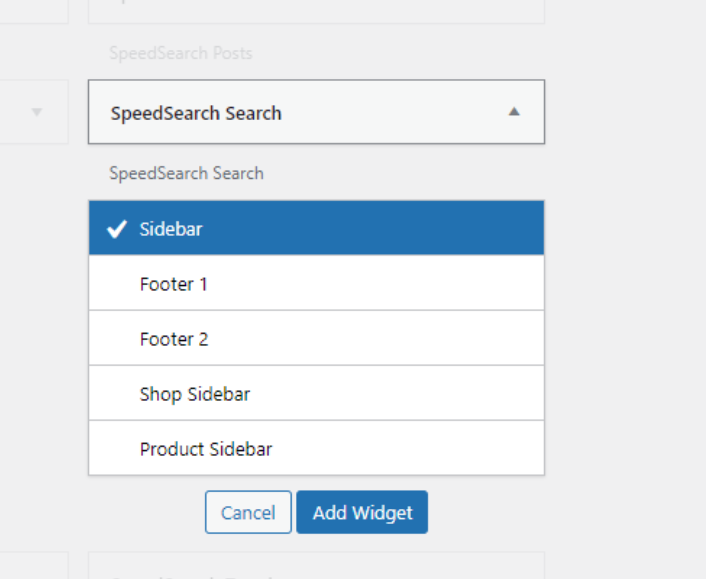
That’s it! Now you’re good to go! Your site will have full autocomplete, search, and filtering capabilities with a seamless user experience and lightning-fast speeds. All that’s left to do is to play around with the settings to create the user experience you desire.

Conclusion
While WooCommerce comes with several out-of-the-box capabilities for searching and filtering, it is not a great option for shops that aim to offer a great user experience with good business results. For a premium experience and results that show it, the best option is to support your search and filter needs with a plugin like SpeedSearch.
Resources
- https://www.thinkwithgoogle.com/consumer-insights/consumer-trends/meet-needs-i-want-to-buy-moments/
- https://www.forrester.com/report/MustHave-eCommerce-Features/RES89561
- https://www.bigcommerce.com/articles/ecommerce/site-search/#meet-the-consumers-who-use-on-site-search
- https://www.invisionapp.com/inside-design/statistics-on-user-experience/
- https://www.kinesisinc.com/the-truth-about-web-design/
- Articles that sum up & link to statistics:
https://www.algolia.com/blog/ecommerce/e-commerce-search-and-kpis-statistics/
https://www.sweor.com/firstimpressions